Listen to this article
Browser text-to-speech
The Foundation of Every Photograph
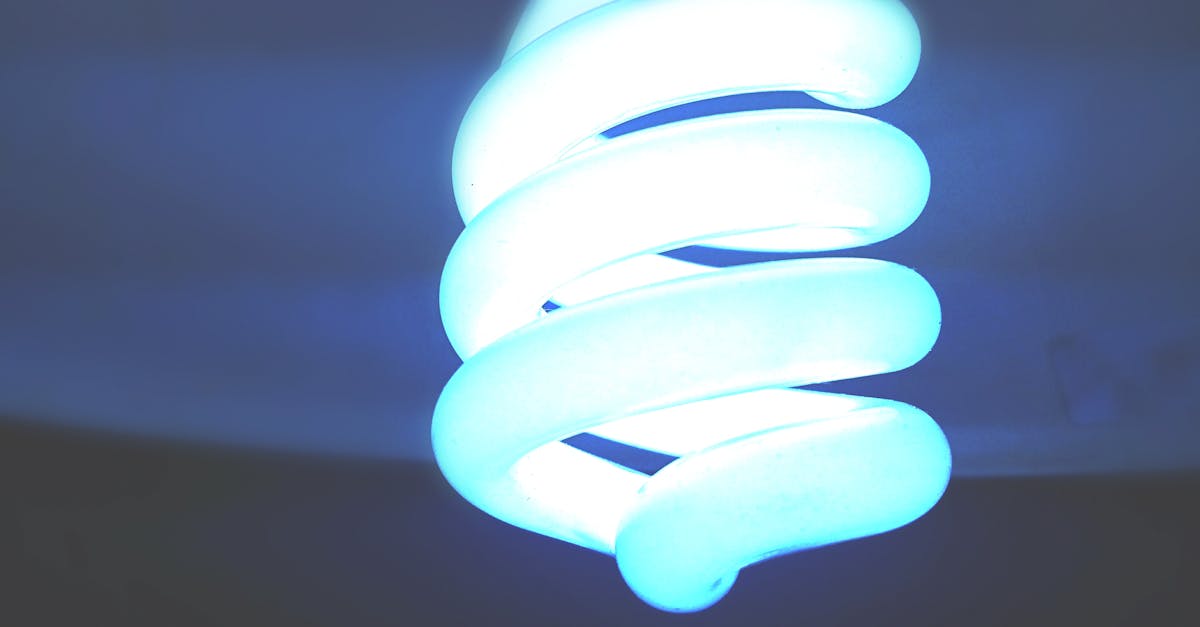
Every photograph begins with light. The amount of light that reaches your camera's sensor determines whether your image is too dark, too bright, or perfectly exposed. Understanding how to control this light is the single most important technical skill in photography.
Three settings work together to control exposure: aperture (measured in f-stops), ISO sensitivity, and shutter speed. Photographers call this combination the exposure triangle, and mastering it transforms you from someone who takes snapshots into someone who creates intentional images.
This comprehensive guide explains each element of the exposure triangle, how they interact, and how to use them creatively to achieve your photographic vision.
The Exposure Triangle Explained
The exposure triangle describes the relationship between aperture, shutter speed, and ISO. Each setting controls how much light contributes to your exposure, but each also has creative side effects that affect the look of your image.
The Core Principle
Think of exposure as filling a bucket with water. You need exactly the right amount of water (light) to fill the bucket (proper exposure). Three factors determine how quickly the bucket fills:
- Aperture: How wide you open the faucet
- Shutter Speed: How long you leave the water running
- ISO: The size of the bucket itself
If you change one factor, you must compensate with another to maintain the same exposure level. Open the aperture wider? You need a faster shutter speed or lower ISO to avoid overexposure. Use a slower shutter speed? You need a smaller aperture or lower ISO.
Measuring Exposure: Stops of Light
Photographers measure light in stops. One stop represents a doubling or halving of light. This standardized measurement applies to all three elements of the exposure triangle:
- One stop brighter = twice as much light
- One stop darker = half as much light
Understanding stops allows you to make precise exposure adjustments. If you want to use a shutter speed that's two stops faster, you know you need to compensate by opening your aperture two stops wider or increasing your ISO by two stops.
F-Stops and Aperture: Controlling Depth of Field
Aperture refers to the opening in your lens that allows light to pass through to the sensor. The size of this opening is measured in f-stops, also written as f-numbers or f/numbers.
Understanding F-Stop Numbers
The f-stop scale seems counterintuitive at first: smaller numbers mean larger openings. This is because f-stops represent a ratio between the focal length of the lens and the diameter of the aperture opening.
Standard f-stop scale (each step represents one stop of light):
| F-Stop | Relative Light | Description |
|---|---|---|
| f/1.4 | Maximum | Very wide, specialized lenses |
| f/2 | 1/2 | Wide, excellent low light |
| f/2.8 | 1/4 | Wide, professional standard |
| f/4 | 1/8 | Moderate, versatile |
| f/5.6 | 1/16 | Moderate, good sharpness |
| f/8 | 1/32 | Narrow, optimal sharpness |
| f/11 | 1/64 | Narrow, landscape photography |
| f/16 | 1/128 | Very narrow, maximum depth |
| f/22 | 1/256 | Minimal opening |
Each full stop in this sequence halves the amount of light. Going from f/2.8 to f/4 cuts your light in half. Going from f/4 to f/2.8 doubles it.
The Math Behind F-Stops
The f-stop number equals the focal length divided by the aperture diameter. For a 50mm lens:
- At f/2: aperture diameter = 50mm / 2 = 25mm
- At f/4: aperture diameter = 50mm / 4 = 12.5mm
- At f/8: aperture diameter = 50mm / 8 = 6.25mm
This explains why f-stop values seem backward. A larger denominator means a smaller opening.
Depth of Field: The Creative Impact
Aperture's creative side effect is depth of field, the zone of acceptable sharpness in front of and behind your focus point.
Wide apertures (small f-numbers like f/1.4 to f/2.8):
- Shallow depth of field
- Background appears blurry (bokeh)
- Subject isolated from surroundings
- Popular for portraits and artistic photography
Narrow apertures (large f-numbers like f/8 to f/16):
- Deep depth of field
- More of the scene appears sharp
- Front-to-back sharpness
- Popular for landscapes and architecture
Aperture Priority Mode
Most cameras offer an Aperture Priority mode (A or Av on the dial). In this mode, you set the aperture, and the camera automatically selects the appropriate shutter speed for correct exposure. This mode is popular because:
- You maintain creative control over depth of field
- The camera handles exposure mathematics
- It works well for changing lighting conditions
ISO Sensitivity: Amplifying Light
ISO measures your camera sensor's sensitivity to light. Higher ISO values amplify the signal from the sensor, allowing you to shoot in darker conditions.
The ISO Scale
ISO uses a linear scale where doubling the number doubles the sensitivity:
| ISO | Light Sensitivity | Typical Use |
|---|---|---|
| 100 | Base sensitivity | Bright daylight, studio strobes |
| 200 | 2x base | Overcast daylight |
| 400 | 4x base | Indoor window light |
| 800 | 8x base | Indoor ambient light |
| 1600 | 16x base | Dim indoor lighting |
| 3200 | 32x base | Low light events |
| 6400 | 64x base | Near darkness |
| 12800+ | 128x+ base | Extreme low light |
Each doubling represents one stop of light. ISO 400 is one stop more sensitive than ISO 200 and two stops more sensitive than ISO 100.
The Trade-Off: Noise
Higher ISO settings introduce noise, visible grain or speckles in your image. This happens because amplifying a weak signal also amplifies the electronic interference in the sensor.
Managing noise:
- Use the lowest ISO that allows your desired shutter speed and aperture
- Modern cameras handle high ISO much better than older models
- Full-frame sensors generally produce less noise than crop sensors
- Noise reduction in post-processing can help, but reduces detail
ISO Invariance
Some modern sensors are considered ISO invariant, meaning you can shoot at low ISO and brighten the exposure in post-processing with similar results to shooting at high ISO. This is useful when you need to protect highlights from clipping.
Shutter Speed: Freezing or Blurring Motion
Shutter speed controls how long the camera's sensor is exposed to light. It's measured in seconds or fractions of a second.
The Shutter Speed Scale
Standard shutter speeds follow a doubling pattern:
| Shutter Speed | Light Duration | Typical Use |
|---|---|---|
| 1/8000 sec | Very brief | Freezing fast action |
| 1/4000 sec | Brief | Sports in bright light |
| 1/2000 sec | Brief | Birds in flight |
| 1/1000 sec | Short | General action |
| 1/500 sec | Short | Moving subjects |
| 1/250 sec | Moderate | Street photography |
| 1/125 sec | Moderate | Walking subjects |
| 1/60 sec | Longer | Handheld minimum* |
| 1/30 sec | Long | Tripod recommended |
| 1/15 sec | Long | Tripod required |
| 1 sec+ | Extended | Long exposure effects |
*The minimum handheld shutter speed varies by focal length. A common rule💡 Definition:Regulation ensures fair practices in finance, protecting consumers and maintaining market stability. is 1/(focal length). For a 200mm lens, use at least 1/200 sec handheld.
Motion: The Creative Impact
Shutter speed's creative effect is how it renders motion:
Fast shutter speeds (1/500 sec and faster):
- Freeze motion completely
- Sharp capture of moving subjects
- Essential for sports and wildlife
- Water droplets frozen in air
Slow shutter speeds (1/30 sec and slower):
- Motion blur in moving subjects
- Silky smooth water in waterfalls
- Light trails from moving cars
- Intentional blur for artistic effect
- Requires tripod for sharp stationary elements
The Reciprocal Rule
To avoid camera shake blur when shooting handheld, use a shutter speed faster than the reciprocal of your focal length:
- 50mm lens: use 1/50 sec or faster
- 100mm lens: use 1/100 sec or faster
- 200mm lens: use 1/200 sec or faster
Image stabilization allows you to shoot 2-5 stops slower, depending on the system.
How the Three Elements Work Together
The exposure triangle becomes powerful when you understand how to balance all three elements.
Equivalent Exposures
Multiple combinations of aperture, shutter speed, and ISO can produce identical exposure. These are called equivalent exposures.
Example: Correct exposure at f/8, 1/125 sec, ISO 400
All of these produce the same exposure:
| Aperture | Shutter Speed | ISO | Notes |
|---|---|---|---|
| f/8 | 1/125 | 400 | Starting point |
| f/5.6 | 1/250 | 400 | Shallower depth of field |
| f/11 | 1/60 | 400 | Deeper depth of field |
| f/8 | 1/250 | 800 | Faster shutter, more noise |
| f/8 | 1/60 | 200 | Slower shutter, less noise |
| f/4 | 1/500 | 400 | Very shallow depth, frozen motion |
| f/16 | 1/30 | 400 | Maximum depth, motion blur possible |
Choosing Your Priority
The "correct" settings depend on your creative intent:
For portraits:
- Priority: Wide aperture (shallow depth of field)
- Typical settings: f/1.8-2.8, ISO as low as possible
- Shutter speed: Whatever gives correct exposure (usually fast enough)
For landscapes:
- Priority: Small aperture (deep depth of field)
- Typical settings: f/8-f/16, ISO 100-400
- Shutter speed: Whatever gives correct exposure (tripod if needed)
For sports/action:
- Priority: Fast shutter speed (freeze motion)
- Typical settings: 1/500 sec or faster, ISO raised as needed
- Aperture: Wide open or as needed for correct exposure
For low light events:
- Priority: Usable shutter speed without blur
- Typical settings: f/2.8 or wider, ISO 1600-6400
- Balance between motion blur and noise
Exposure Value (EV💡 Definition:A vehicle powered by an electric motor and battery pack instead of an internal combustion engine.) and Light Measurement
Photographers use Exposure Value (EV) as a single number representing a combination of aperture, shutter speed, and light level. EV 0 is defined as f/1 at 1 second with ISO 100.
Common EV Values
| EV | Lighting Condition |
|---|---|
| -6 | Night, stars visible |
| -3 | Night, full moon |
| 0 | Night, lit buildings |
| 3 | Indoor, dim |
| 6 | Indoor, bright |
| 9 | Cloudy, outdoor |
| 12 | Bright overcast |
| 15 | Sunny (sunny 16 rule) |
| 18 | Bright sand or snow |
The Sunny 16 Rule
In bright sunlight, correct exposure is approximately:
- f/16, shutter speed = 1/ISO
At ISO 100 on a sunny day: f/16, 1/100 sec
This rule provides a baseline when you don't have a light meter available.
Practical Exposure Scenarios
Scenario 1: Portrait in Shade
Goal: Blurred background, properly exposed face
Approach:
- Open aperture wide (f/1.8-2.8) for background blur
- Set ISO low (100-400) for best quality
- Meter for the face and let camera set shutter speed
- If shutter speed is too slow, increase ISO
Typical result: f/2, 1/250 sec, ISO 200
Scenario 2: Landscape at Golden Hour
Goal: Sharp front-to-back, rich colors
Approach:
- Use tripod for stability
- Set narrow aperture (f/8-f/11) for depth of field
- Keep ISO at 100 for best quality
- Accept slower shutter speed (tripod handles this)
Typical result: f/11, 1/15 sec, ISO 100
Scenario 3: Indoor Sports
Goal: Freeze fast action in dim lighting
Approach:
- Set shutter speed fast enough to freeze motion (1/500+)
- Open aperture as wide as lens allows
- Raise ISO until exposure is correct
- Accept some noise as trade-off
Typical result: f/2.8, 1/640 sec, ISO 6400
Scenario 4: Long Exposure Waterfall
Goal: Silky smooth water
Approach:
- Use tripod (essential)
- Set narrow aperture (f/16-f/22)
- Keep ISO at minimum (100)
- Use neutral density filter if shutter speed still too fast
- Aim for 1-5 second exposure
Typical result: f/16, 2 sec, ISO 100 (with ND filter)
Common Exposure Mistakes and Fixes
Mistake: Images Too Dark
Causes:
- Camera metering fooled by bright background
- Subject in shadow while background is lit
Fixes:
- Use exposure compensation (+1 to +2 stops)
- Meter specifically on your subject
- Use spot metering instead of evaluative
Mistake: Images Too Bright
Causes:
- Camera metering fooled by dark background
- Shooting toward light source
Fixes:
- Use negative exposure compensation (-1 to -2 stops)
- Recompose to exclude bright light source
- Use spot metering on your subject
Mistake: Motion Blur (Unintentional)
Causes:
- Shutter speed too slow for focal length
- Shutter speed too slow for subject motion
Fixes:
- Increase shutter speed (raise ISO if needed)
- Use image stabilization
- Use a tripod
- Open aperture wider
Mistake: Everything Blurry
Causes:
- Aperture too wide for scene depth
- Focused on wrong distance
Fixes:
- Use smaller aperture for more depth of field
- Focus one-third into the scene
- Use hyperfocal distance focusing
Advanced Exposure Techniques
Bracketing
Bracketing means taking multiple shots at different exposures. This is useful for:
- HDR (High Dynamic Range) photography
- Ensuring at least one perfect exposure
- Scenes with extreme contrast
Most cameras can automatically bracket 3-5 shots with one button press.
Histogram Reading
The histogram shows the distribution of tones in your image:
- Left side = dark tones (shadows)
- Right side = bright tones (highlights)
- Spike at either edge = clipped (lost) detail
A good exposure typically shows data spread across the histogram without spikes at the edges.
ETTR (Expose to the Right)
This technique involves making your image as bright as possible without clipping highlights, then darkening in post-processing. Benefits:
- Maximizes signal-to-noise ratio
- Captures most detail in shadows
- Works best with RAW files
Mastering Exposure Takes Practice
Understanding the exposure triangle is only the beginning. True mastery comes from shooting thousands of images and reviewing what worked and what didn't.
Practice exercises:
- Shoot the same scene at every f-stop your lens offers
- Photograph moving water at different shutter speeds
- Compare ISO 100 and ISO 6400 in the same scene
- Practice finding equivalent exposures mentally
Every photographic situation is an opportunity to deepen your understanding of how aperture, shutter speed, and ISO work together to create images.
Calculate Your Exposure Settings
Ready to take control of your finances?
Take the guesswork out of exposure with our precision photography calculators.
Try the Exposure CalculatorFrequently Asked Questions
Common questions about the Photography Exposure: F-Stops, ISO, and Shutter Speed